

-

-
0

-
subtotal :
- Add product ₹200 more for checkout
-
Every second woman who loves wearing different jewelry has dreamed of learning to make it at least once in her lifetime. Handmade jewelry making has become one of the leading small businesses. It has paved a path to earning for many housewives, provided a good side income for working women, and allowed others to learn and earn through it as a hobby.
At the initial stage of learning handmade jewelry, so many questions pop up in the mind, such as: How to start? How to learn? What kind of jewelry material to purchase? Where to buy? And so on…
The answer to all of these questions is Bahawa Mart, where you will get good quality raw materials and learn jewelry making for free. Bahawa Mart is the only wholesome ecosystem that gives you detailed knowledge about jewelry making.
When you start jewelry making, the 1st basic thing to learn is making a Nath. It is one of the important ornaments in Maharashtrian handmade jewelry. But then the question comes as to what type of jewelry material is required. So, Bahawa Mart is here to guide you through it.
If You are a beginner in Jewellery Making, then this kit is for you. It contains a variety of jewellery making raw materials like beads, crystals, kundan, clasps & other findings needed for jewellery making.
When starting your jewelry-making journey, one of the most essential traditional Maharashtrian ornaments to master is the Nath.
There are two primary styles of Nath crafting:
In both styles, selecting the correct wire gauges and bead dimensions is crucial to ensure both durability and elegance.
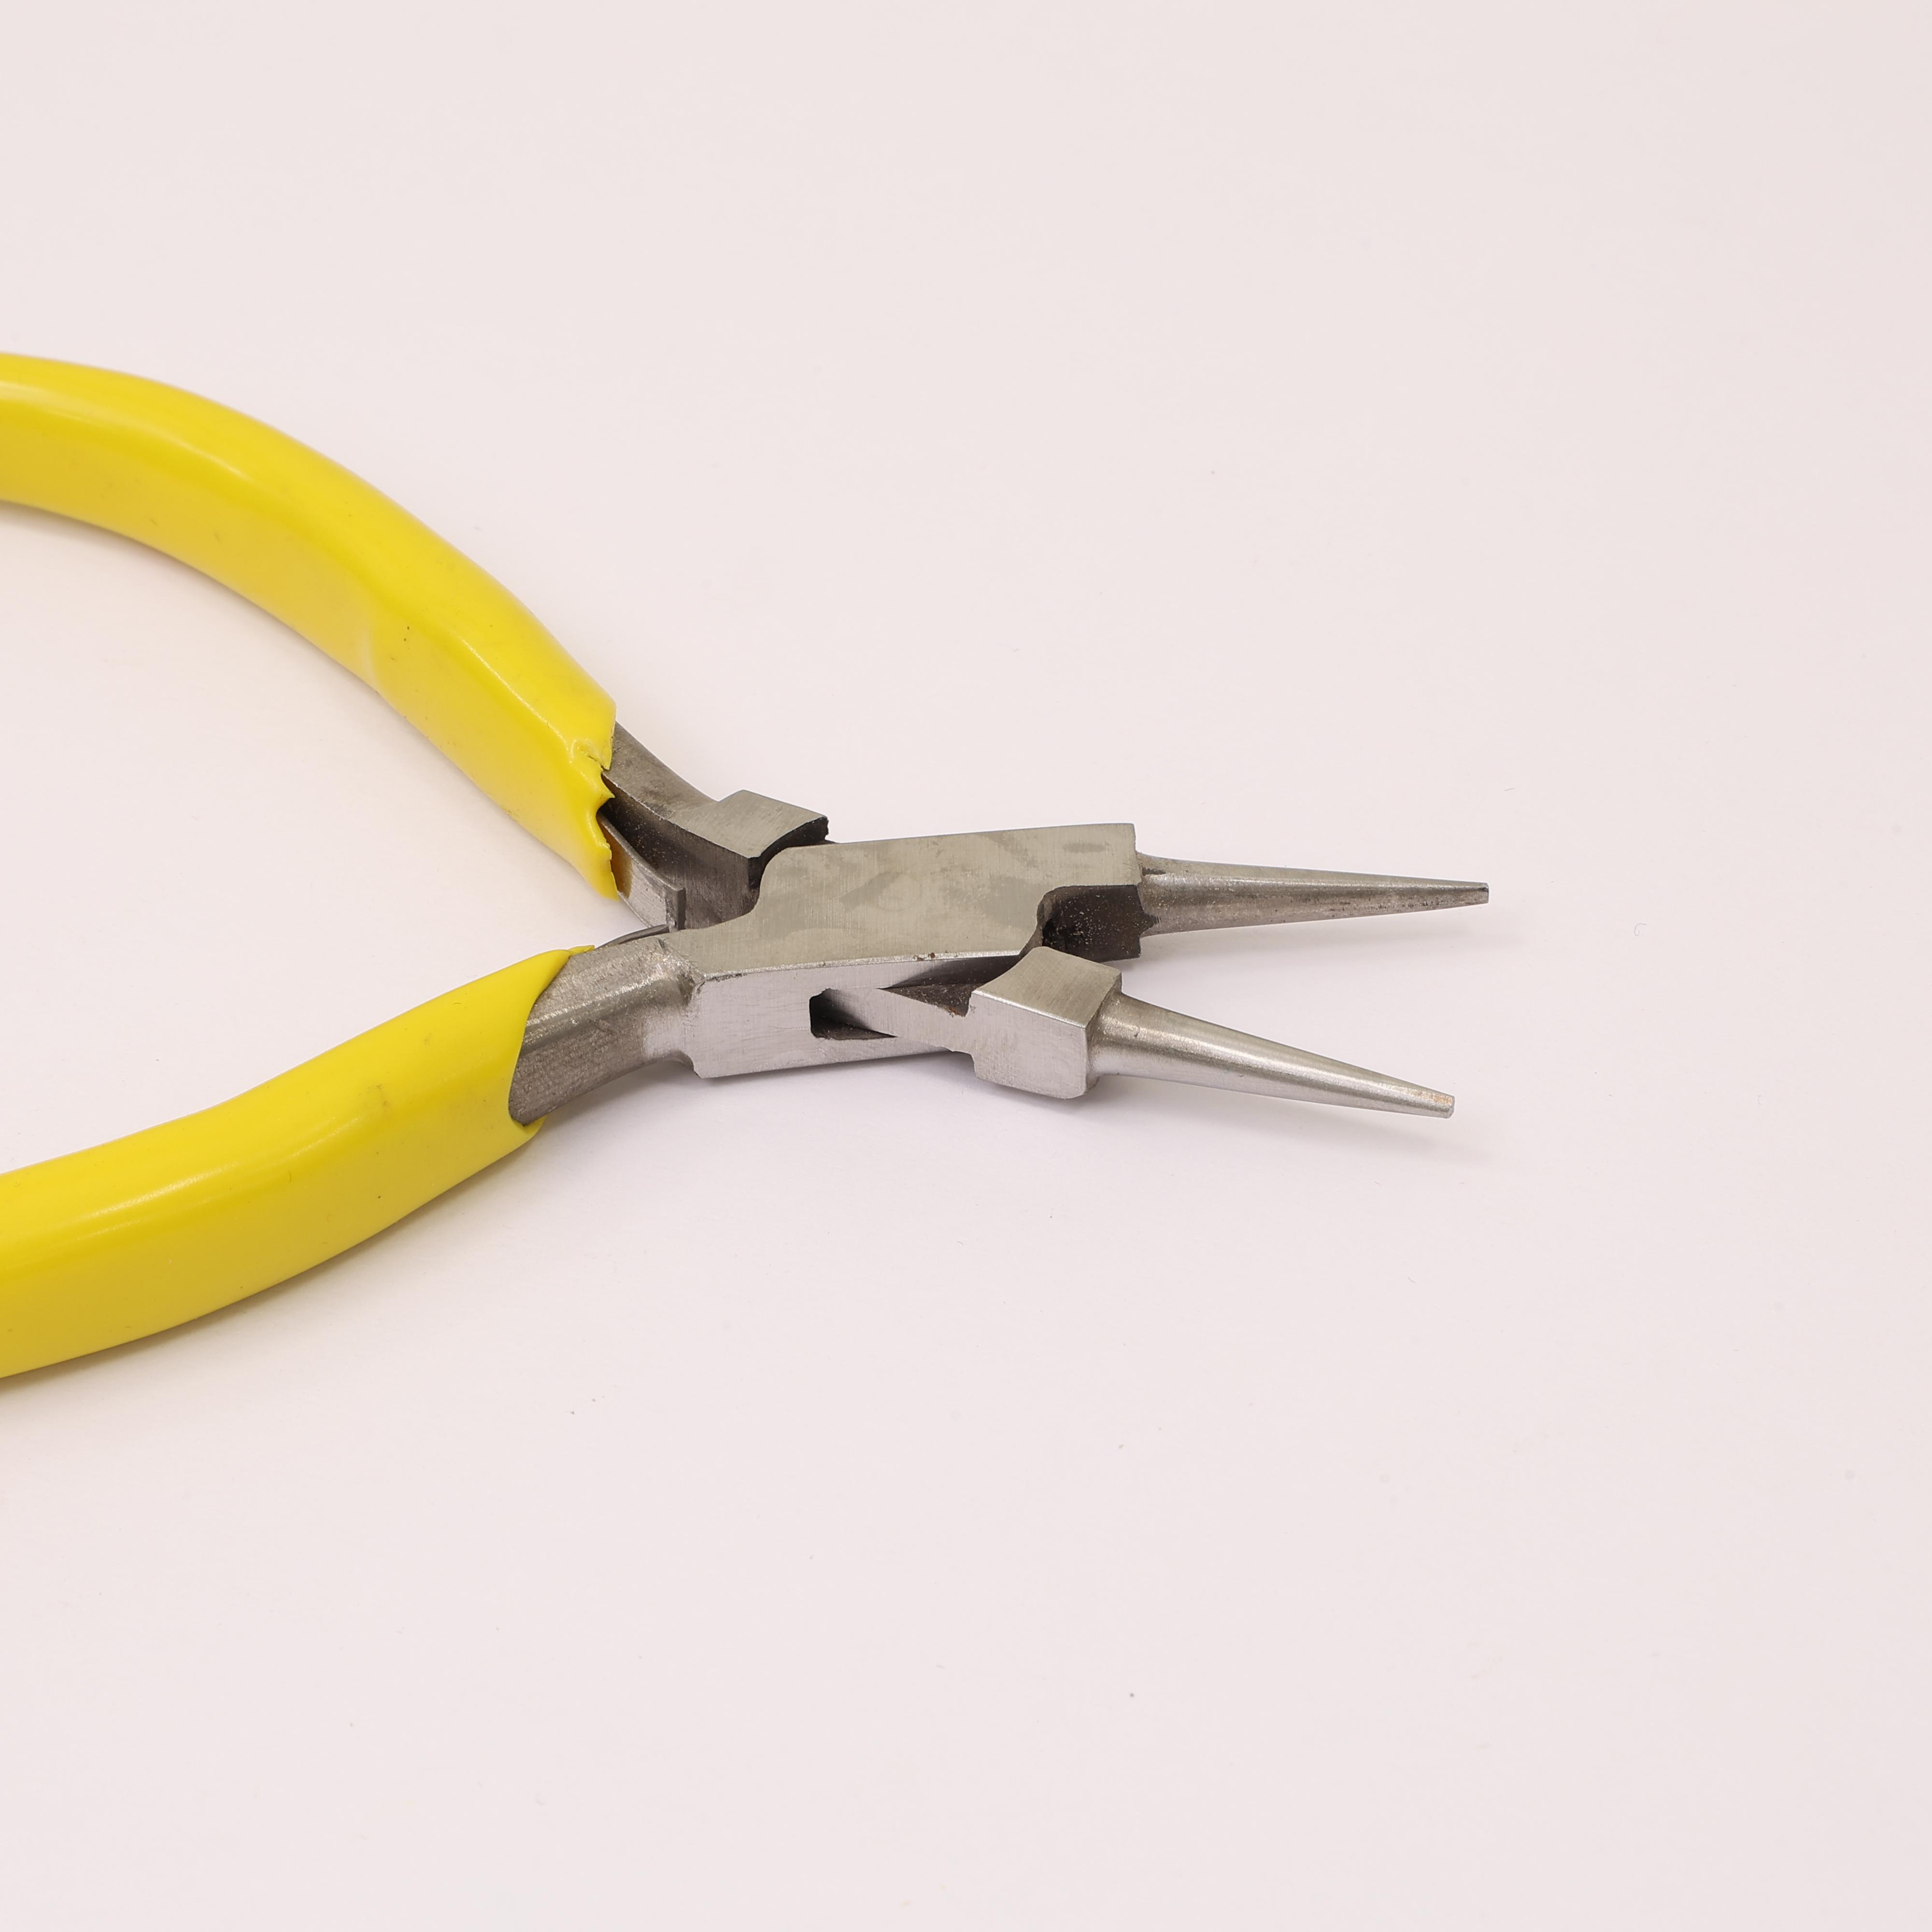
Take a 6-inch piece of the sturdy 18-gauge golden wire. At one end, use your round-nose plier to make a smooth, rounded loop. Fold it back slightly to form the comfortable press-clip mechanism.
Place the primary red/pink crystal bead onto the wire base. Using thin binding wire, wrap around the base wire tightly to lock the focal stone in place.
Begin threading the pearls (moti) and gold accent beads along the curve of the wire. Alternate between pearls and tiny gold beads to create the classic clustered arch effect.
Gently bend the main wire using your hands or round-nose pliers to form the traditional curved semi-oval/cashew shape. Wrap thin wire around each pearl cluster to lock them into place.
Bend the tail end of the 18-gauge wire backward toward the initial loop into a gentle U-shape to form the pressing mechanism.